December 2025
Hi everyone! Thank you for stopping by to see all the creative artisan’s Fancy/Fun fold cards.
I took inspiration from Peggy Murwin, and made it my own.
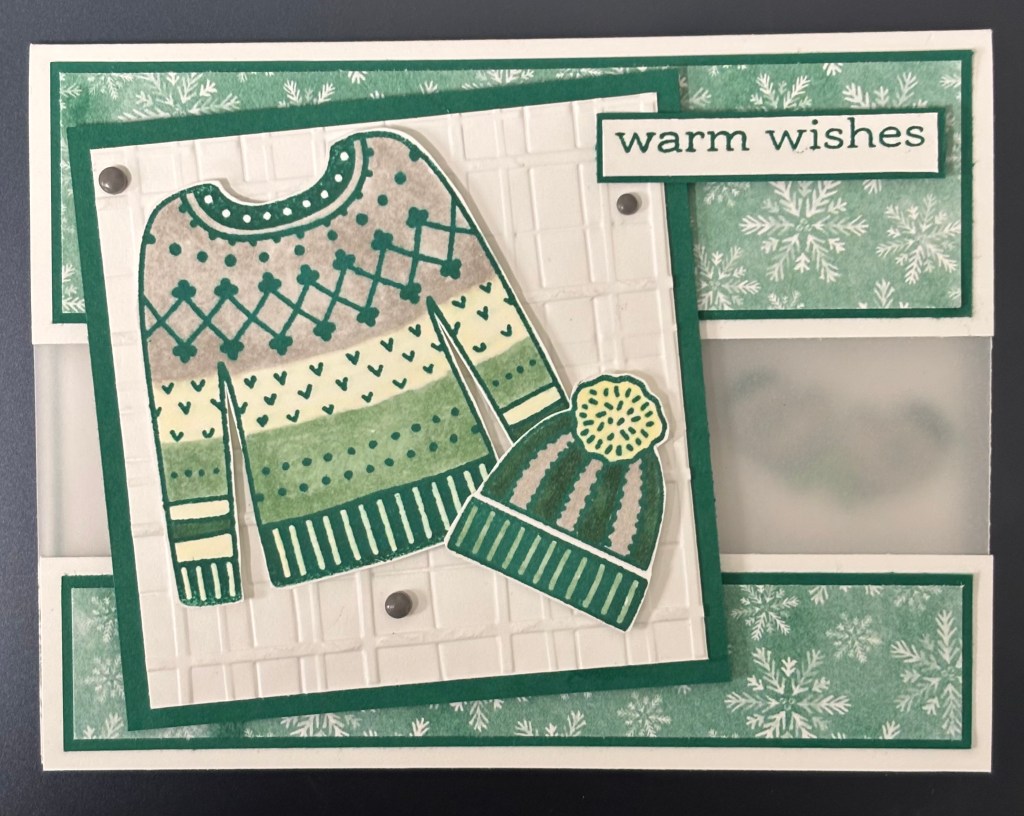
I used Stay Warm stamp set to create my sweater, hat and mittens. I used Notes & Totes stamp Sending warm wishes and cut off the “sending” word.
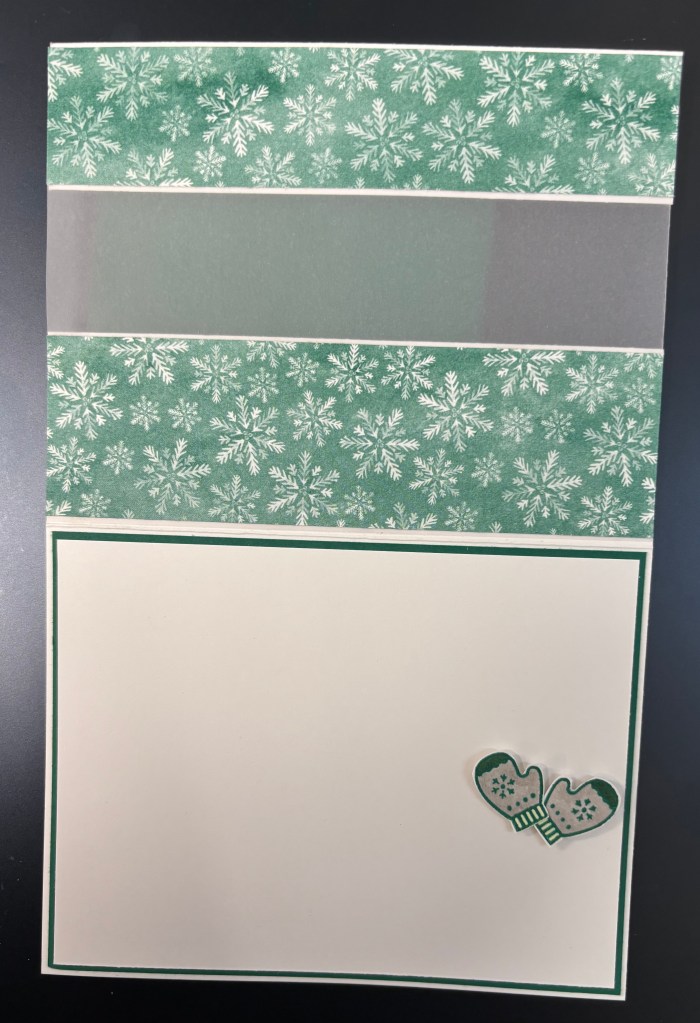
For the card I cut a base at 6″ x 5-1/2″ scored at 4-1/4″. Cut a 1-1/4″ x 5-1/2″ for the bottom panel, that holds the card together.
First, cut a 3-1/2″ x 3-1/2″ coordinating color. This will hold the embossed 3-1/4″ x 3-1/4″ basic white. I place the colored and fussy cut sweater and hat on it.
I attached a piece of Vellum behind these 3 pieces, on the inside of the card. Then used more DSP to brighten up the inside and cover up the glue showing through the Vellum.
I colored, fussy cut the 2 mittens and using dimensionals attached them behind the Vellum, on the inside.
This can be a “Winter card” vs a Christmas card. It can be used for a friend/family member who has a birthday during the winter.
I hope you liked my card. I also hope you can take a minute to look at the others on the Blog Hop below.
Happy New Year!