Welcome back! Thank you for tracking this month’s Blog Hop.
My card is called a Pull-Out Pop-Up card. I used the beautiful Painterly Pears DSP. It has a mechanism under the front flap. When you pull the Old Olive and yellow DSP, it comes out. Then, a flap pops up. (see photo’s below.)
I got the tutorial from Stamping with Amore. She made a cute card for a child. I used Painterly Pears in my version. I made a tutorial for this card. If you would like the tutorial, message me and I will e-mail it to you.
Please follow the links below for many more beautiful fun fold cards. And thank you so much for taking the time to follow our blog hop.
Thanks for stopping by our fun fold blog hop. There are some beautiful fun fold cards. Follow the links below and see what everyone has to offer.
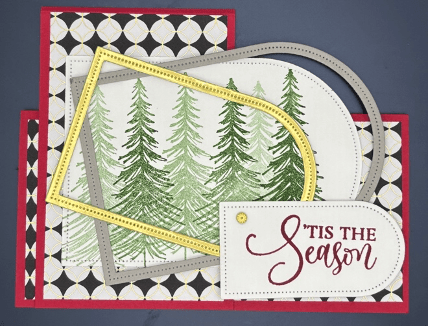
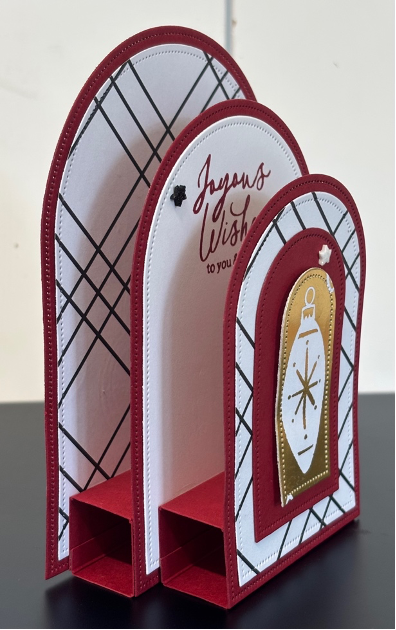
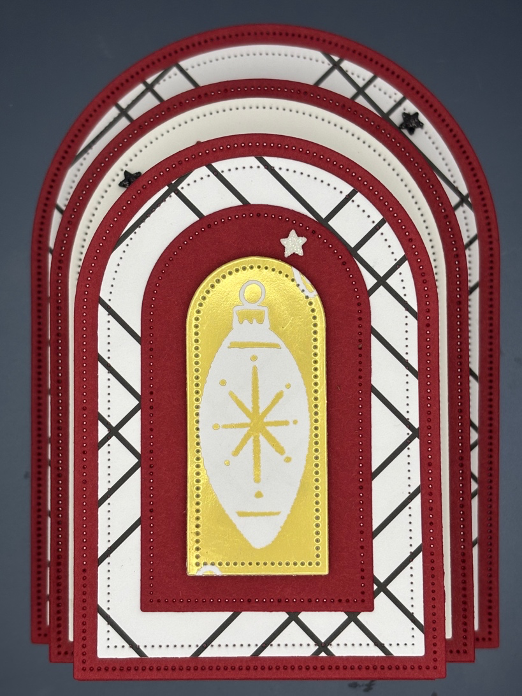
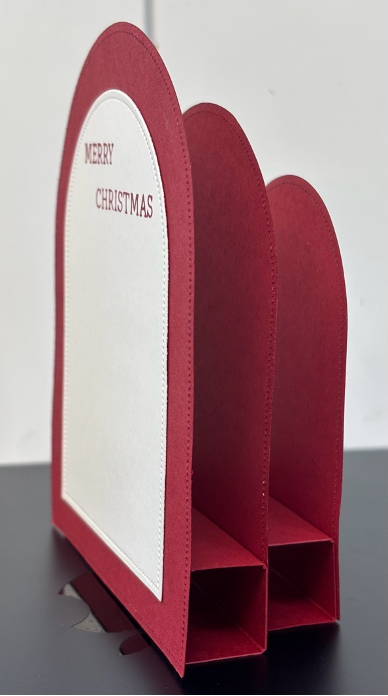
My card this month is using the Everyday Arches and Modern Christmas DSP. I bought a packet from Liz Shannon-Ready, Set, Demo and have been creating the cool cards she made.
This one is called Layered Tent Fold. It was fun to make and not really hard.
This is what it looks like inside.
Here are the materials you’ll need.
Cherry Cobbler Card Stock:
5-1/2” x 5-1/2” scored at 2-3/4”
2-3/4” x 8-1/2” score at 4-1/4”
Basic White Card Stock: 2-1/2” x 5-1/4”, arch #4, arch # 9
Modern Christmas DSP: (watch for directionality) 2-1/2” x 4”, 2-1/2” x 5-1/4”
Smoky Slate Card Stock: arches #4 & #5
Gold Foil Sheets: arches #6 & #7
The 5-1/2″ x 5-1/2″ piece is the card base. The 2-3/4″ x 8-1/2″ is the tent part. You adhere the front to the card base front after applying the DSP. The back piece remains free.
If you have any questions, I’d be happy to help.
Thank you for coming to our October Blog Hop. Now click the links and explore the other 10 creations you won’t be disappointed.
Welcome! Thanks for stopping by. I hope you like all the cards shared in this blog hop this month. So many beautiful cards you can do yourself. Please be sure to visit all the other global designers below.
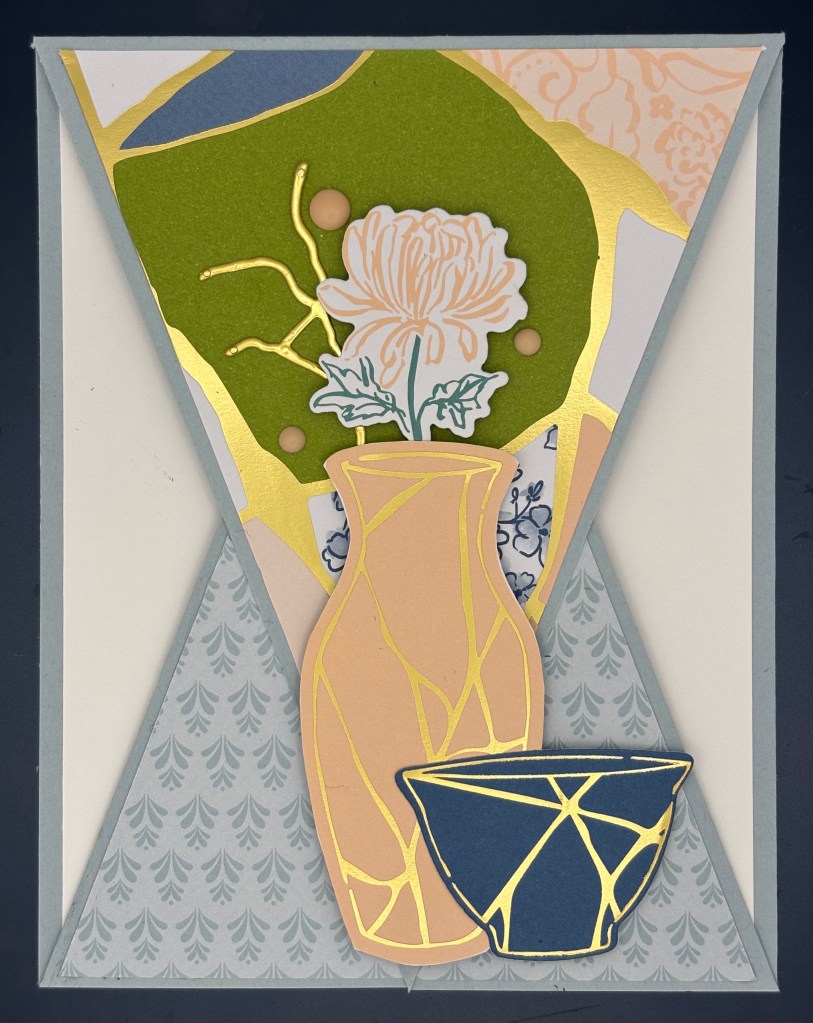
My card was made using the Kintsugi Inspirations DSP and dies. The card is called “That-a-Way”. I CASed Tatted Stamper. It was too beautiful not to recreate!
Cut cardstock at 4-1/4″ x 11″ and score at 5-1/2″. Cut from the right scored line to the center of the card (2-1/8″). Then cut from the left score line to the center. Save those pieces we will use them in a bit.
Cut the DSP at 4″ x 5-1/4″. Cut from the right top to the center (2″). Cut from the top left to the center. Save those pieces.
Take the center piece cut from the DSP, center and adhere to the card front. Take the (2) cardstock pieces and carefully lay them touching (wide edges at the bottom). Take a piece of scotch tape and affix them together. Repeat with the (2) DSP pieces with tape on the back. Now center and adhere the DSP to the cardstock.
Center and adhere this unit, with the point facing up, under the card front. Cut a piece of coordinating DSP 3/8″ x 5-3/8″ and apply along the joining line inside (if desired). Add an image, if desired.
Stamp a sentiment on Basic White cardstock cut at 4″ x 5-1/4″. Center and adhere to the inside of the card. Fussy cut or die cut images to add to the card front. Embellish as desired. This card is easy to do and such a wow card.
Thank you for supporting us and be sure to hop to see the other fun/fancy fold cards listed below.
Welcome, here is the September Blog Hop! The theme this month is using Flip Flaps (interactive page). If you don’t know what Flip Flaps are I will explain. They are clear envelopes. You can attach them to your scrapbook page. This lets you have more photos on a page. This allows me to have 11 photos and a journal section on one scrapbook page. They can be added to the outside of the sleeve. (see photo at the bottom of the post).
I was excited for this challenge as I have some Flip Flaps but have not used them yet. So this forced me to think about how I might use them.
I used a piece of 12″ x 12″ DSP as my base. I took a sheet from Mixed Media Florals. I used coordinating card stock. I cut them to fit the Flip Flaps-3″ x 4″. I adhered 4 of them to the 12″ x 12″ base. I put the page into a sleeve. Then I aligned 4 Flip Flaps directly above the 4 that were glued to the DSP. I punched 4 tabs and adhered them to the Flip Flaps.
I removed the page from the sleeve and added the words using the Mini Alphabet dies in coordinating DSP. I added a journal page under one Flip Flap from the Just a Note stamp set. I also included 2 paperclips from the Stamp and die set Just a Note.
I embellished the page with Cute Stars Adhesive-Backed Sequins.
This was a fun page to create. I hope you like it and all the others who are listed below. Please follow the blog hop to see other ideas. You definitely have to try them!