Welcome to our Blog Hop! Glad you made it! After you check out my card, scroll down to see the other artisan’s fun fold cards.
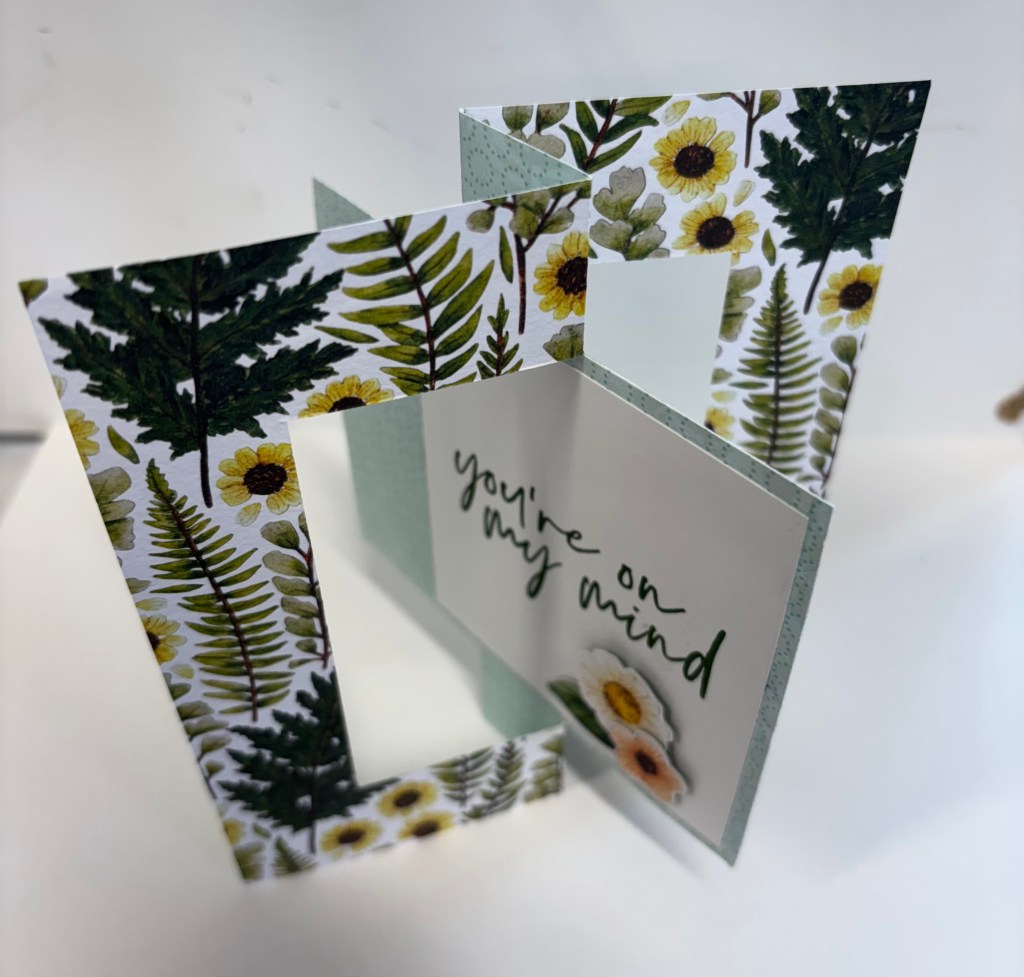
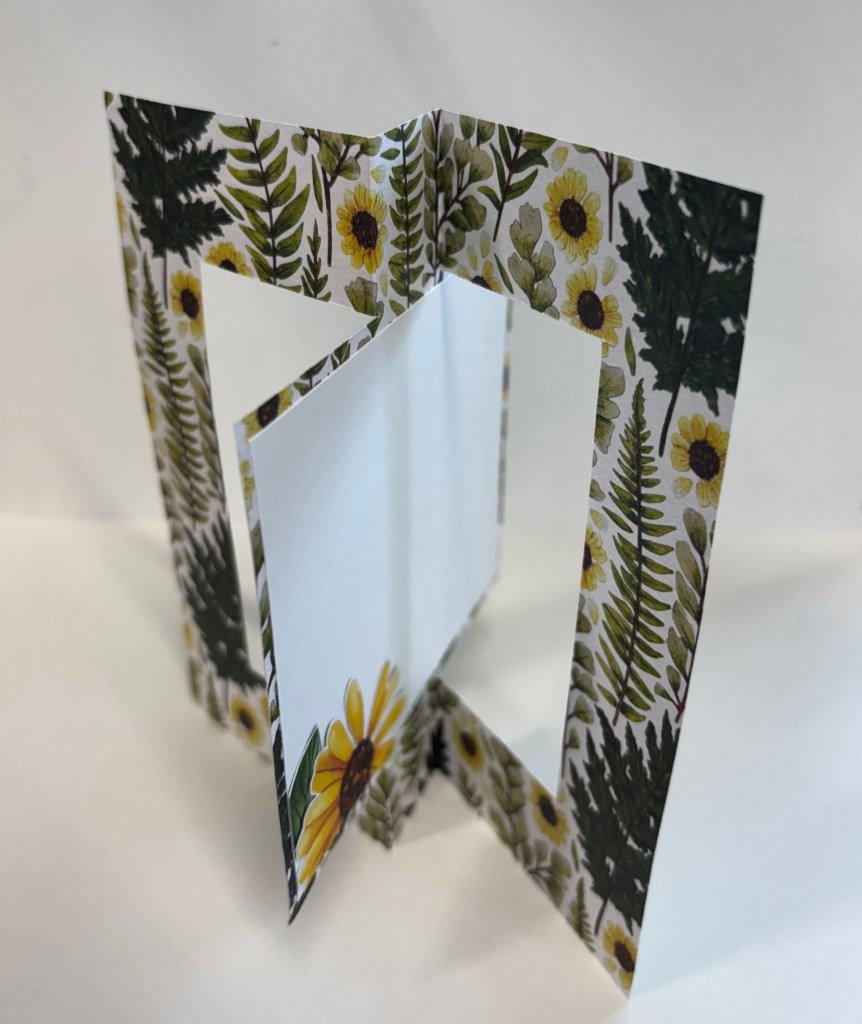
I CASEd this card from Simply Stamping. This card is a “Flip Flop” card.
I used Floral Impressions DSP (retired) and fussy cut flowers from other pieces of that DSP. I used a sentiment from Fabulous Sayings (retired). It can be made with any beautiful Stampin’ Up DSP.
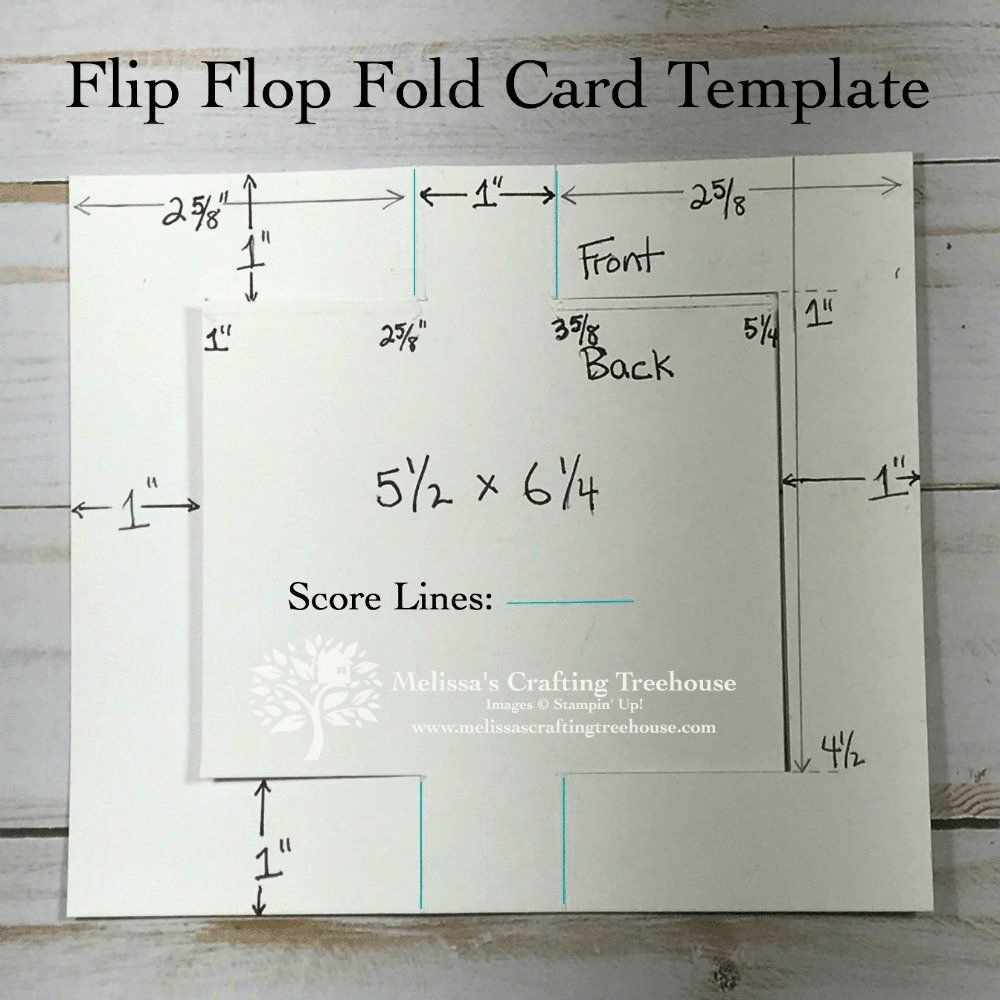
This photo below is the measurements and scoring needed for this card from Melissa’s Crafting Treehouse.
It was a very fun card to make. I used DSP while Marie uses card stock.
Please take the time to visit all the artisans listed below. You will find so many amazing fun fold cards.
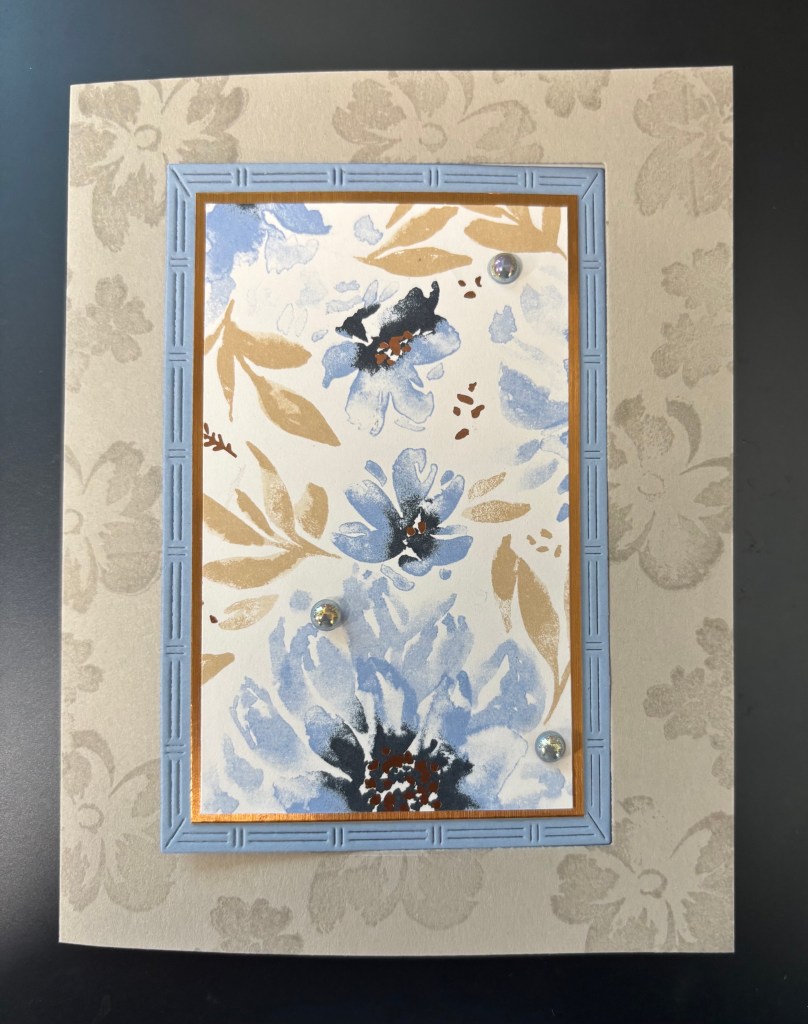
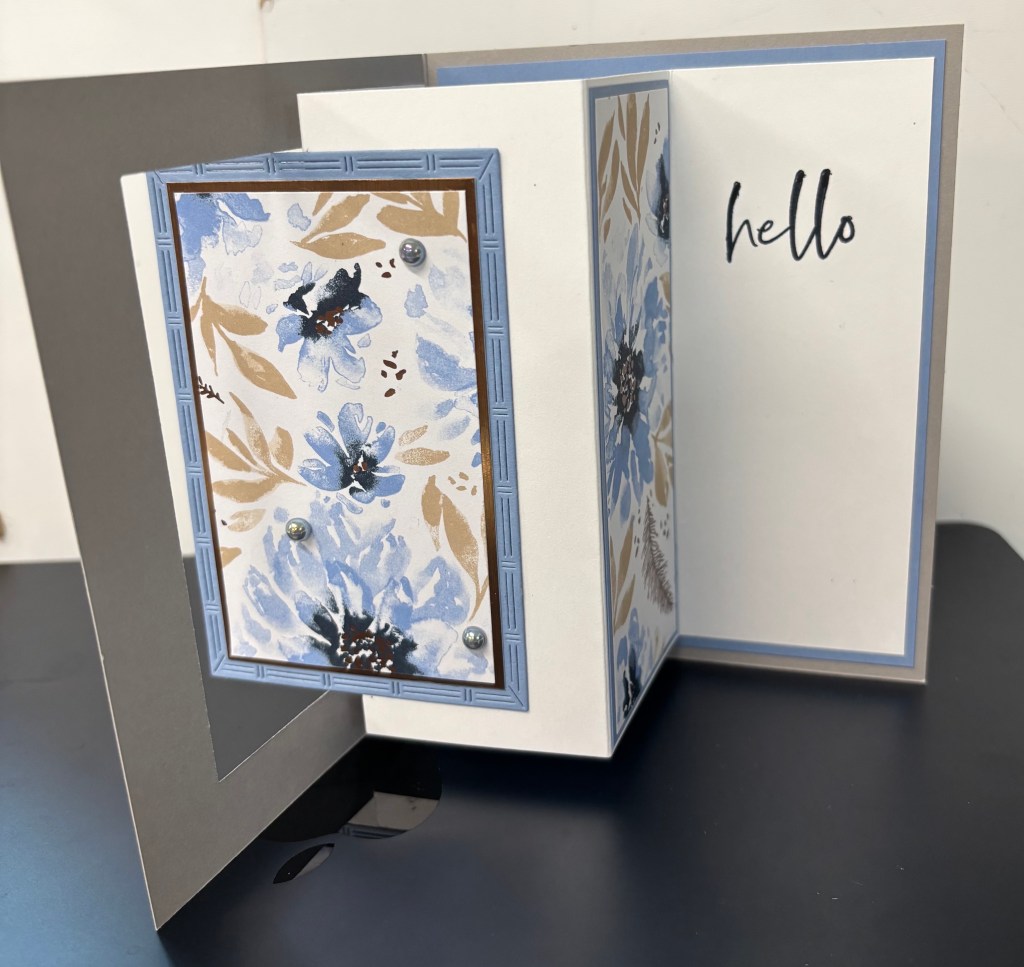
This month I just had to use the Delicate Dreams DSP. I love this paper, the colors are so beautiful. For the first time I made a window fold card. I got inspiration from Tarabeth Stamps’ card on Pinterest.
I used Gray Granite, Basic White and Boho Blue card stock. In the DSP there are bronze highlights sprinkled in. So I added a bronze metallic layer under the DSP on the front. The window was cut using the Textured Notes dies. I used Adhesive-Backed Pearl Trio for embellishments. The Petals of Beauty flowers, stamped on the front frame, were stamped with VersaMark . I chose to use the “hello” sentiment from the Fabulous Sayings stamp set.
I really enjoyed making this new style of fun fold (for me) and using the beautiful Delicate Dreams DSP. I hope you give it a try.
Below you will find this month’s SU Fun Fold Blog Hop. Click each names to see their cards.
Welcome to our monthly Blog Hop. Thank you for joining us!
I created a fun fold card that I’m sure you have seen before. But with this one, I used Creative Haven. I used some of the pop-outs and did some fussy cutting to decorate the flap. This was very fun to do, choosing the pieces I wanted to use amoungst all the choices available.
This card can have so many themes. Sewing, books, aroma therapy just to name a few. Take another look at this fun paper and see what you can do.
Please be sure to follow the wonderful creators listed below to see the other designs.
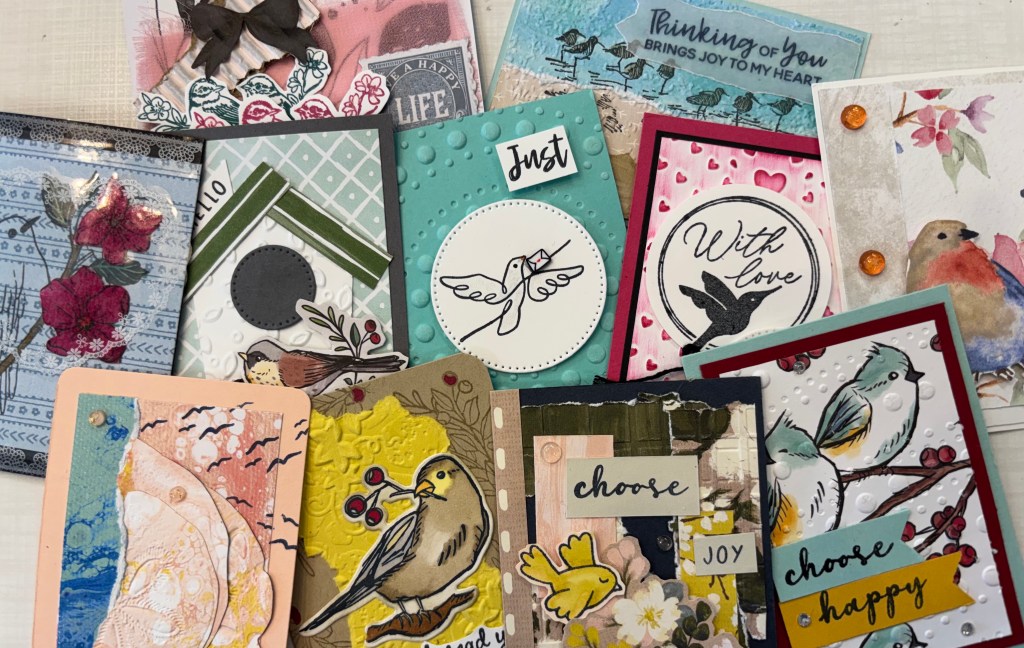
Well our first ATC challenge is in the books. The January theme was Bird & Embossing. See the results of that challenge in the photo below.
The March challenge theme is embossing paste and flower(s).
Watch for the post for March at the end of March.
Thank you for checking out the results of the challenge.
1/8/26
We have started our group on Facebook. We are using primarily Stampin’ Up products, either new or retired. This effort is to promote creativity and for fun.
These cards can be used in various ways. They make great card fronts. They are perfect for junk journals. You can also use them as bookmarks.
Watch for samples posted on the FB group around January 30th. I can’t wait to see the inspiration that comes from this.
1/2/26
Have you heard of ATC (Artist Trading Cards). We, I and a few friends, have started a group called Stampin’ Up ATC. You must us primarily SU products- they can be new or retired products.
We will create the 2-1/2″ x 3-1/2″ cards on cardstock bases using themes like techniques, particular colors and more. Then we will swap/share within the group.
These cards can be used as card fronts, bookmarks, in your junk journals and Folios and so much more. This allows for unrestricted creativity.
If you are interested, please find our group on FB Stampin’ Up ATC.
Hi everyone! Thank you for stopping by for our final Blog Hop of 2025.
I have made so many Christmas cards, I don’t want to make any more! Ha, ha, ha 😉
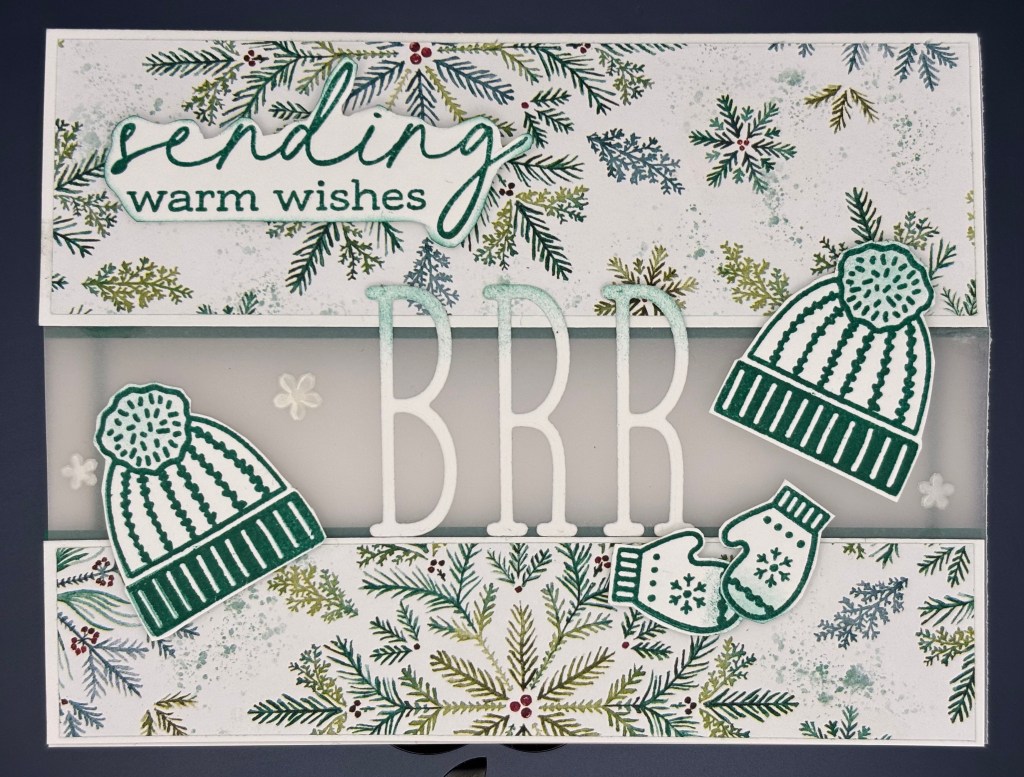
So my card for December is a winter card. I used Stay Warm stamp set. I was inspired by Lilliam Goudzwaard-Ars. She made an adorable card that I just had to make my own.
I used Garden Green ink and cardstock to match the colors in the beautiful Elegant Pine Snowflakes DSP.
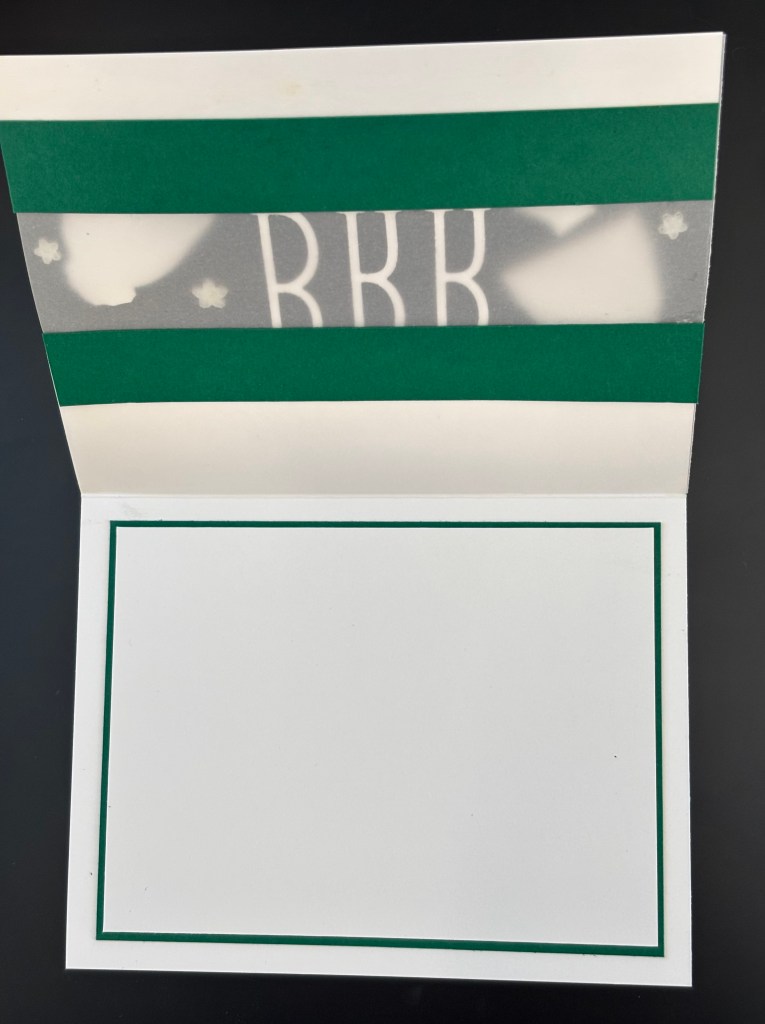
I cut the card base, front at 1-1/2″ and then cut a piece off the left over at 1-1/4″. I used Velum to bridge the 2 pieces. I added 2 strips of Garden Green inside to create a little border. This allowed me to cover up the glue holding the Vellum.
I am enjoying this stamp set and have made a few winter cards with it. I hope you like it too!
Please follow the links below to see all the other wonderful creations made by the other talented SU Demonstrators.