Welcome to the March Blog Hop! Thanks for stopping by.
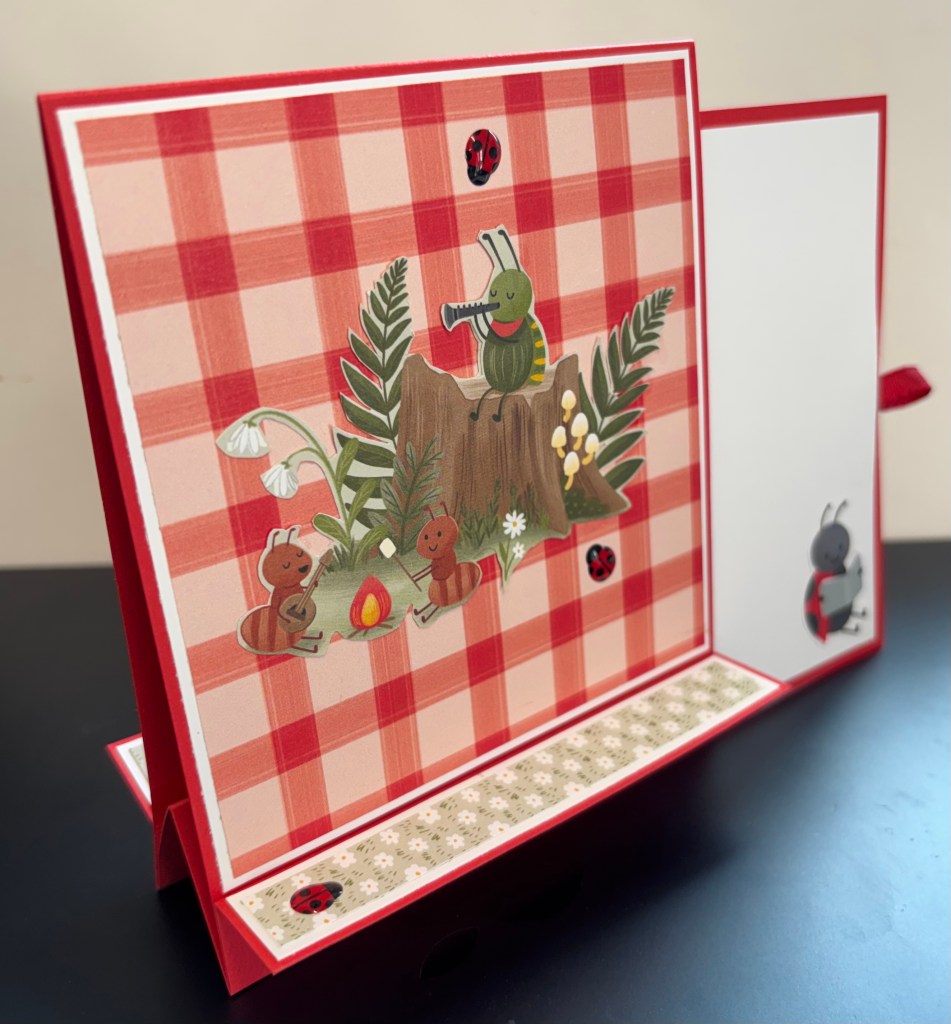
This month I created a card that was created by Wandering Stamper. I used her card base design and created my card from that. It is a Faux Step card slightly altered. She calls it a floating step card.
I used Sweet Bugs DSP. It has a pull-out for your sentiment and message.
I hope you like it and make one.
Please follow the links below to see the other wonderful fun fold cards.
Hi everyone! Thank you for stopping by to see all the creative artisan’s Fancy/Fun fold cards.
I took inspiration from Peggy Murwin, and made it my own.
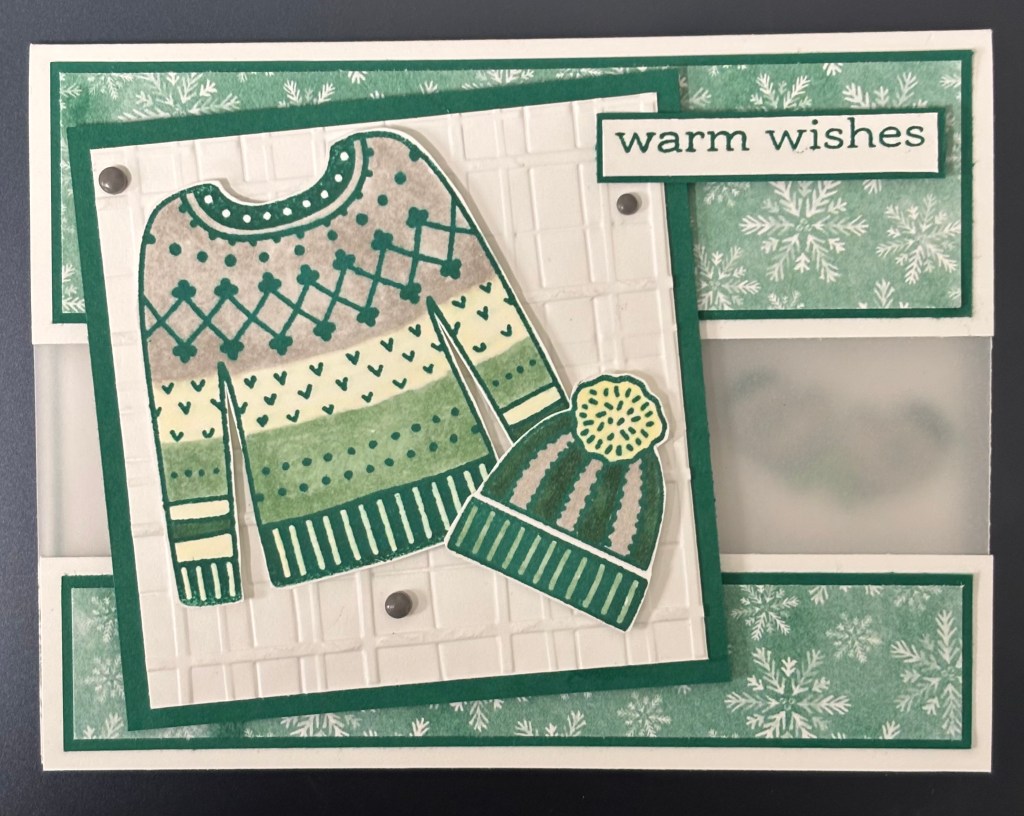
I used Stay Warm stamp set to create my sweater, hat and mittens. I used Notes & Totes stamp Sending warm wishes and cut off the “sending” word.
For the card I cut a base at 6″ x 5-1/2″ scored at 4-1/4″. Cut a 1-1/4″ x 5-1/2″ for the bottom panel, that holds the card together.
First, cut a 3-1/2″ x 3-1/2″ coordinating color. This will hold the embossed 3-1/4″ x 3-1/4″ basic white. I place the colored and fussy cut sweater and hat on it.
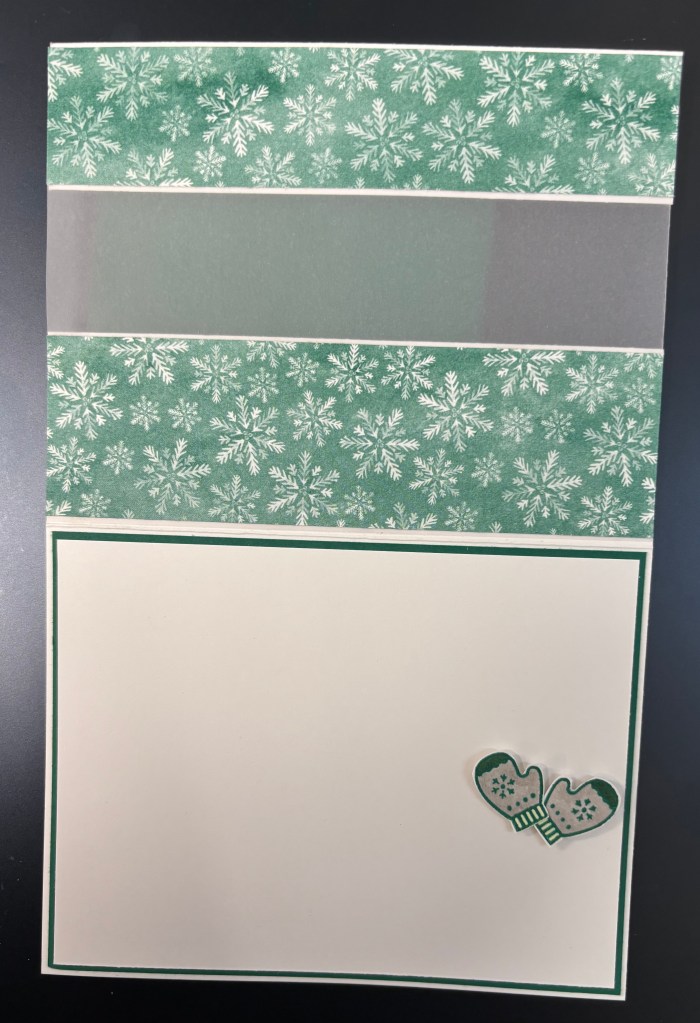
I attached a piece of Vellum behind these 3 pieces, on the inside of the card. Then used more DSP to brighten up the inside and cover up the glue showing through the Vellum.
I colored, fussy cut the 2 mittens and using dimensionals attached them behind the Vellum, on the inside.
This can be a “Winter card” vs a Christmas card. It can be used for a friend/family member who has a birthday during the winter.
I hope you liked my card. I also hope you can take a minute to look at the others on the Blog Hop below.
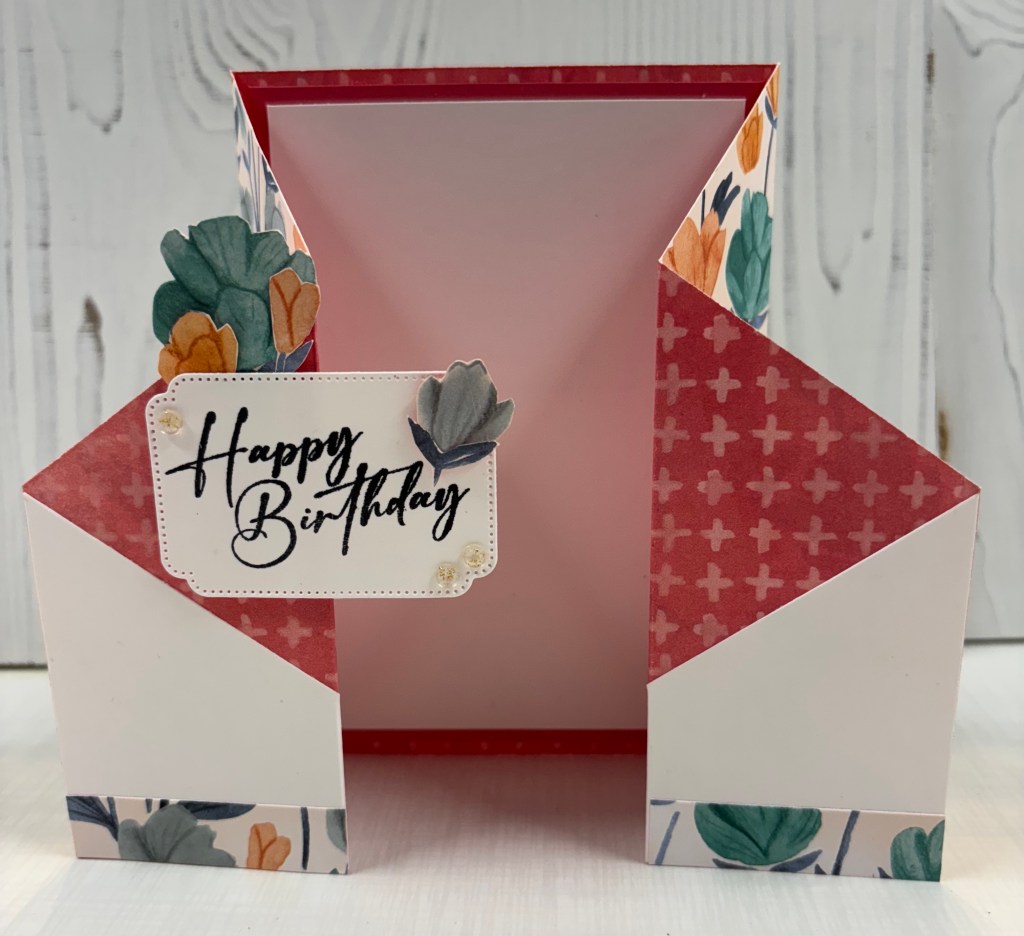
Welcome to the July Fun/Fancy Fold Blog Hop. This month, I used a card from Deb of Delight of my Art. I changed it up a bit. She created a gate fold. She cut off the top right and left corners. Then, she applied them to the bottom left and right corners. Try as a I may, I couldn’t find a way to do that without the flowers being upside down. So I altered it some.
I cut the DSP 5-1/2″ x 12″. Then the DSP is scored at 2″ and 4″ on the left side along the long side. I turned the DSP and again scored at 2″ and 4″ on the right side. This way my score line looked the same. Next I measured down the right side to 2-3/4″ and made a pencil mark. After which I cut from the 4″ score line to the 2-3/4″ mark. Then repeated this on the left side of the DSP.
I traced the cut off pieces of DSP onto white cardstock and cut them. Then those pieces of white cardstock were applied to the left and right bottom corners. Now I had a tuxedo looking card.
I cut (2) 1/2″ x 2″ pieces of DSP and applied to the front of the card at the bottom.
From there I cut a piece of Strawberry Slush cardstock at 3-3/4″ x 5-1/4″. A piece of white cardstock was cut at 3-1/2″ x 5″ and adhered to the Strawberry Slush cardstock. This unit was adhered inside the center panel of the DSP.
After that I stamped a sentiment on white cardstock and cut it using the tag die from Unbounded Love. The sentiment is from the same stamp/dies set.
I fussy cut a few flowers from the Florals in Bloom DSP and placed them around the tag. One was placed inside the card.
To finish the card I added the Strawberry Slush and Pretty in Pink Gems.
I hope you like my card.
Please follow the link below to see the other amazing fun fold cards that were created this month.
Welcome to the monthly Blog Hop for July. This month’s theme is Travel. Perfect time for this theme, summer travels . I truly enjoyed creating this layout. I used a variety of new and retired Stampin’ Up! products.
Please be sure to scroll to the bottom of this page. There, you can view all the posts that were created for the theme Travel.
My scrapbook page is about going places. I used DSP from On the Go DSP packet as a map for the background. Cut a piece of Smoky Slate card stock at 5-1/2″ x 7-3/4″. Then scored at 2-5/8 to create a brochure. I used Just a Note stamp and dies to create a journal page and paper clips. I stamped Date__/__/__ , Going Places and Today marks and adventure from Tags to Go stamp set.
I then cut out images from the On the Go DSP. I also cut out images from the Take To The Skies DSP. I added them to the layout to create my page.
Thank you for stopping by to see my July Scapbooking Blog Hop page. Please visit the other wonderful blogs.
Welcome to the Independent Stampin’ Up! Demonstrators Fun Folds Blog Hop. The theme is “Anything Goes.” There’s a lineup below to make it easy for you to hop along and see everyone’s creations. (click on the photos to make them larger)
This month’s design is called Floating Tent Easel card. I was inspired by Kate Morgan from Australia.
First, I fussy cut several flowers from the Floral Impressions 12″ x 12″ DSP. And because there were no measurements available, I created my own measurements for the card.
I cut Summer Splash card stock at 4-1/4″ x 11″ and scored at 5-1/2″. Then I cut off 4″ from the bottom of the card front. I scored that in 1/2 at 2″ (tent piece). I set this aside.
Then I cut pieces of Summer Splash card stock at 1-1/2″ x 4-1/2″, 1-1/2″ x 5″ and 1-1/2″ x 4-1/4″.
Then I took the DSP and cut two different patterns. They measured (2) 1-3/8″ x 4-1/8″ and (2) 1-7/8″ x 4-1/8″ with the 1st pattern. Using the 2nd pattern, I cut 1-3/8″ x 4-1/8″, 1-3/8″ x 4-7/8″, 1-3/8″ x 2-7/8″. I then centered and adhered them to the coordinating card stock pieces (see photo). There are 2 pieces on the back of the card. One on the back pillar (floral) and one across the top (circle print) on the tent piece.
I centered the 1-1/2″ x 4-1/2″ unit and adhered it to the back of the short card front. Then, I attached it to the inside of the tent piece. I then centered and adhered the 1-1/2″ x 5″ unit to the front of the tent piece. This will make the easel piece. Be sure to measure so that they align with with the bottom section so as not to exceed 5-1/2″.
Next, I adhered the fussy cut flowers. I glued some of them. I used dimensionals for others to create the easel stopper.
Next was the sentiment in coordinating ink. I placed it on the top, short panel. I glued 3 more flowers on the top left of the card base.
Finally, I added embellishments and Wink of Stella.
I hope you really enjoy this fun fold card. I really had fun putting it all together. Please follow the links above.