December 30, 2025

Hi everyone! Thank you for stopping by for our final Blog Hop of 2025.
I have made so many Christmas cards, I don’t want to make any more! Ha, ha, ha 😉
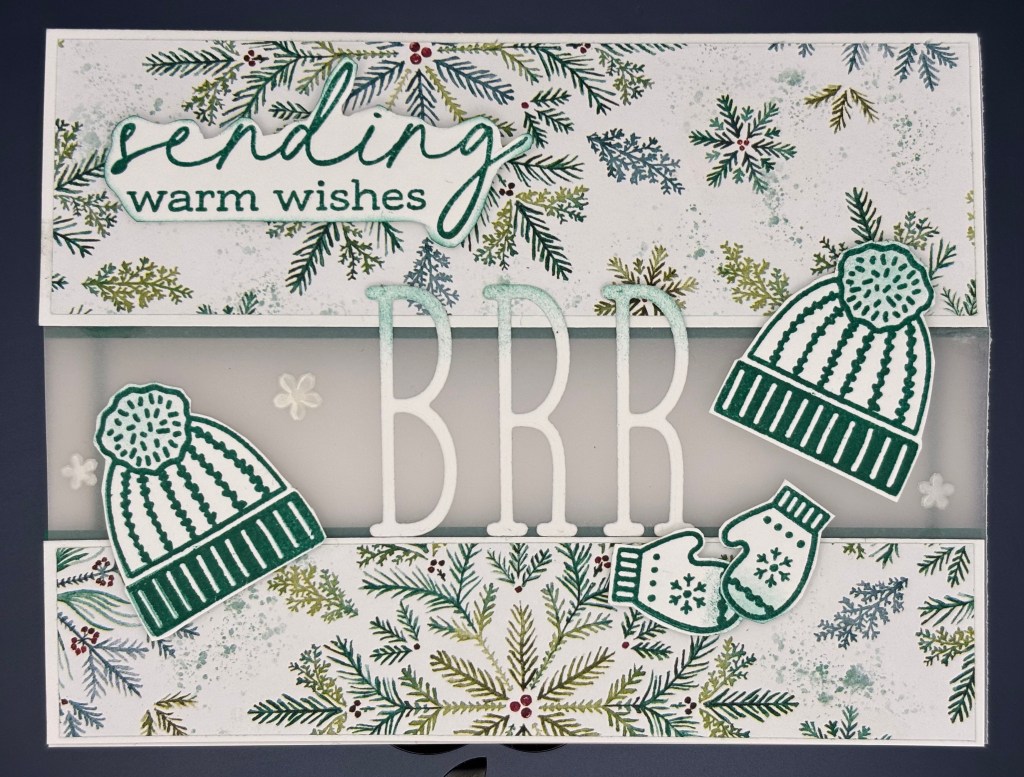
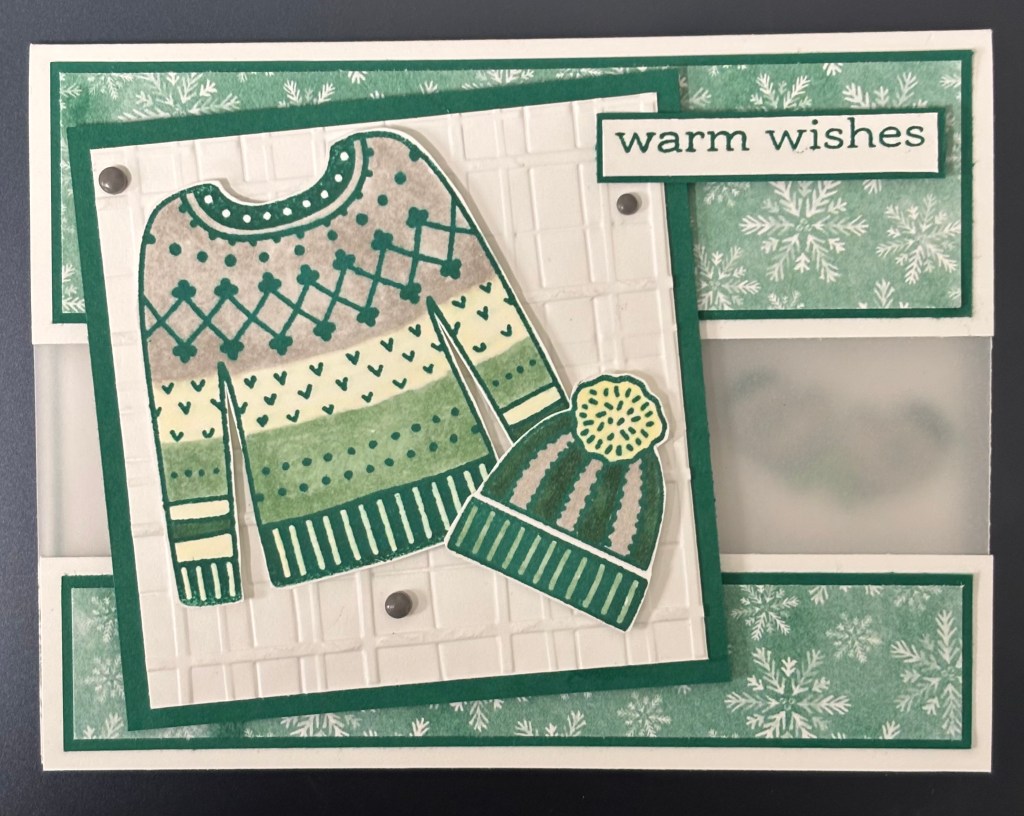
So my card for December is a winter card. I used Stay Warm stamp set. I was inspired by Lilliam Goudzwaard-Ars. She made an adorable card that I just had to make my own.
I used Garden Green ink and cardstock to match the colors in the beautiful Elegant Pine Snowflakes DSP.
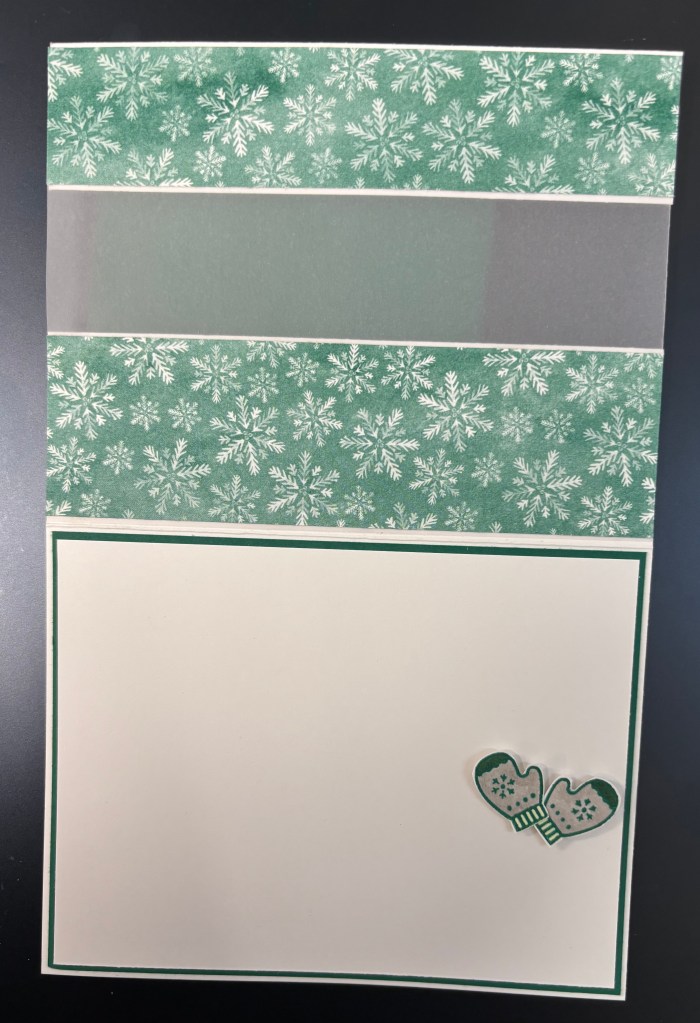
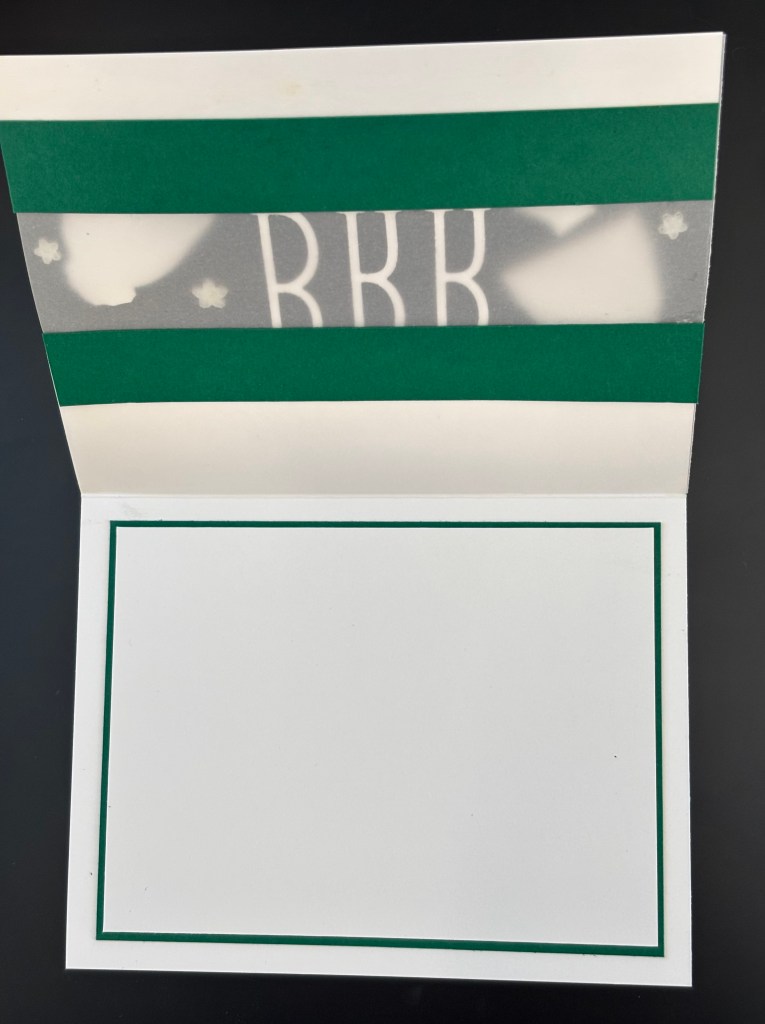
I cut the card base, front at 1-1/2″ and then cut a piece off the left over at 1-1/4″. I used Velum to bridge the 2 pieces. I added 2 strips of Garden Green inside to create a little border. This allowed me to cover up the glue holding the Vellum.
I am enjoying this stamp set and have made a few winter cards with it. I hope you like it too!
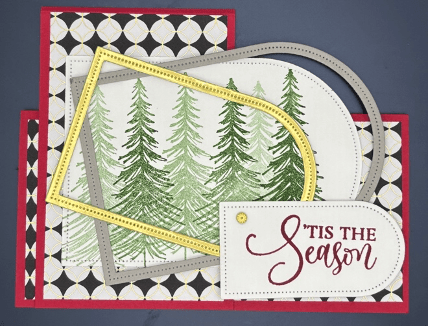
Please follow the links below to see all the other wonderful creations made by the other talented SU Demonstrators.
Happy New Year!
Links to the amazing Blog Hop participants.